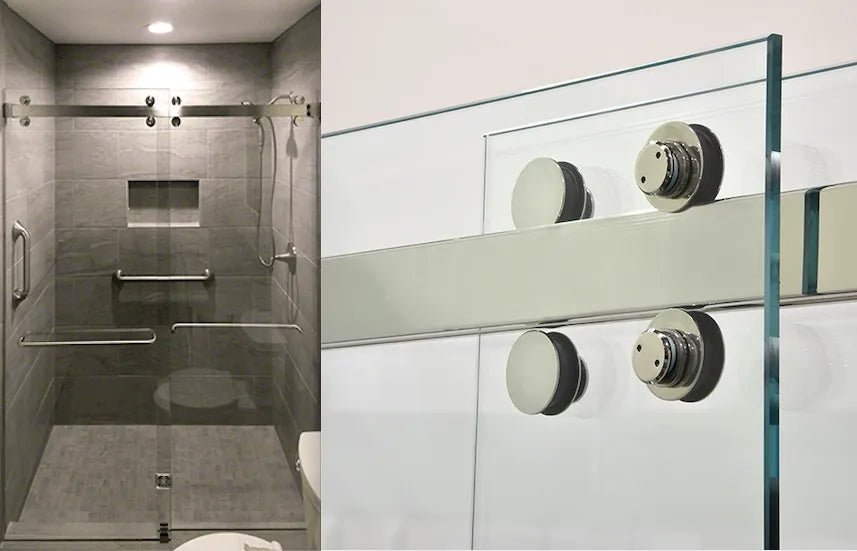
Installing new shower door hardware is not only a functional upgrade but also a chance to add a touch of style to your bathroom. With the right tools, materials, and some DIY spirit, you can take on this project and give your bathroom a fresh new look!
Don't settle for a boring shower door when you can transform it into an eye-catching feature in your bathroom. In this article, we'll guide you through a step-by-step installation process that will leave you feeling like a DIY pro. So, let's get started!
Step 1: Gather Your Materials
First things first, it's important to make sure you have everything you need before you start the installation process. This includes your shower door hardware kit, measuring tape, level, drill, screwdriver, screws, caulk, and sealant. Make sure to read the instructions carefully and check that you have all the necessary components.
Step 2: Measure and Mark the Location
Take your time to measure and mark the location where you want to install your shower door hardware. This is an important step to ensure that everything is straight and even. Use your measuring tape to mark the exact placement of each component, and then double-check the markings with a level.
Step 3: Install the Hinges
Now it's time to install the hinges. Place the hinge on the marked location and use your drill to make pilot holes for the screws. Then, attach the hinge to the wall or shower enclosure using screws and a screwdriver. Make sure the hinge is securely attached and level.
Step 4: Install the Door Handles or Knobs
With the hinges in place, you can now install the door handles or knobs. These components are usually attached to the door itself, so use the provided screws and a screwdriver to attach them. Make sure they are properly aligned with the hinges and level.
Step 5: Install the Rollers and Tracks
Next, it's time to install the rollers and tracks that will guide the door and keep it in place. Start by attaching the tracks to the wall or enclosure using screws and a screwdriver. Then, attach the rollers to the top and bottom of the door, making sure they align with the tracks. This step is crucial for smooth and safe operation of the shower door.
Step 6: Apply Caulk and Sealant
The final step is to apply caulk and sealant to ensure your shower door is properly sealed and waterproof. Use a caulk gun to apply caulk around the edges of the hardware and use a sealant to fill in any gaps or seams. Allow the caulk and sealant to dry completely before using your shower.
With these six easy steps, you can transform your shower door with new hardware and give your bathroom a fresh new look. Remember to take your time, double-check your measurements and markings, and don't hesitate to ask for help if you need it. Now, go ahead and give your shower door the upgrade it deserves!

